Portable Minecraft on USB Flash Drive

This is the process to build a bootable USB flash drive with Lubuntu Live 14.04 and set it up to run Minecraft or any other game that runs on Linux.
The first step is to build the bootable USB flash drive using UNetbootin. The main key here is to set the “Space used to preserve files across reboots (Ubuntu only):

You want to make this as large as possible, based on the size of your USB flash drive. Lubuntu only takes up about 800MB of the drive, so the rest can be used to preserve files. In this example, I’m using a small 2GB flash drive and there is plenty of room for the Lubuntu files as well as the additional files needed for a few other games (such as minetest).
Once UNetbootin is finished, exit it and insert the flash drive into another computer (or reboot) and press the key needed to load the boot device screen. For example, the Dell laptop I’m using, I press F12 for the boot device menu, but the computer I’m using to write this with uses F8 for the boot device menu. Either way, when you first turn on your computer, the splash screen should tell you what key to press.
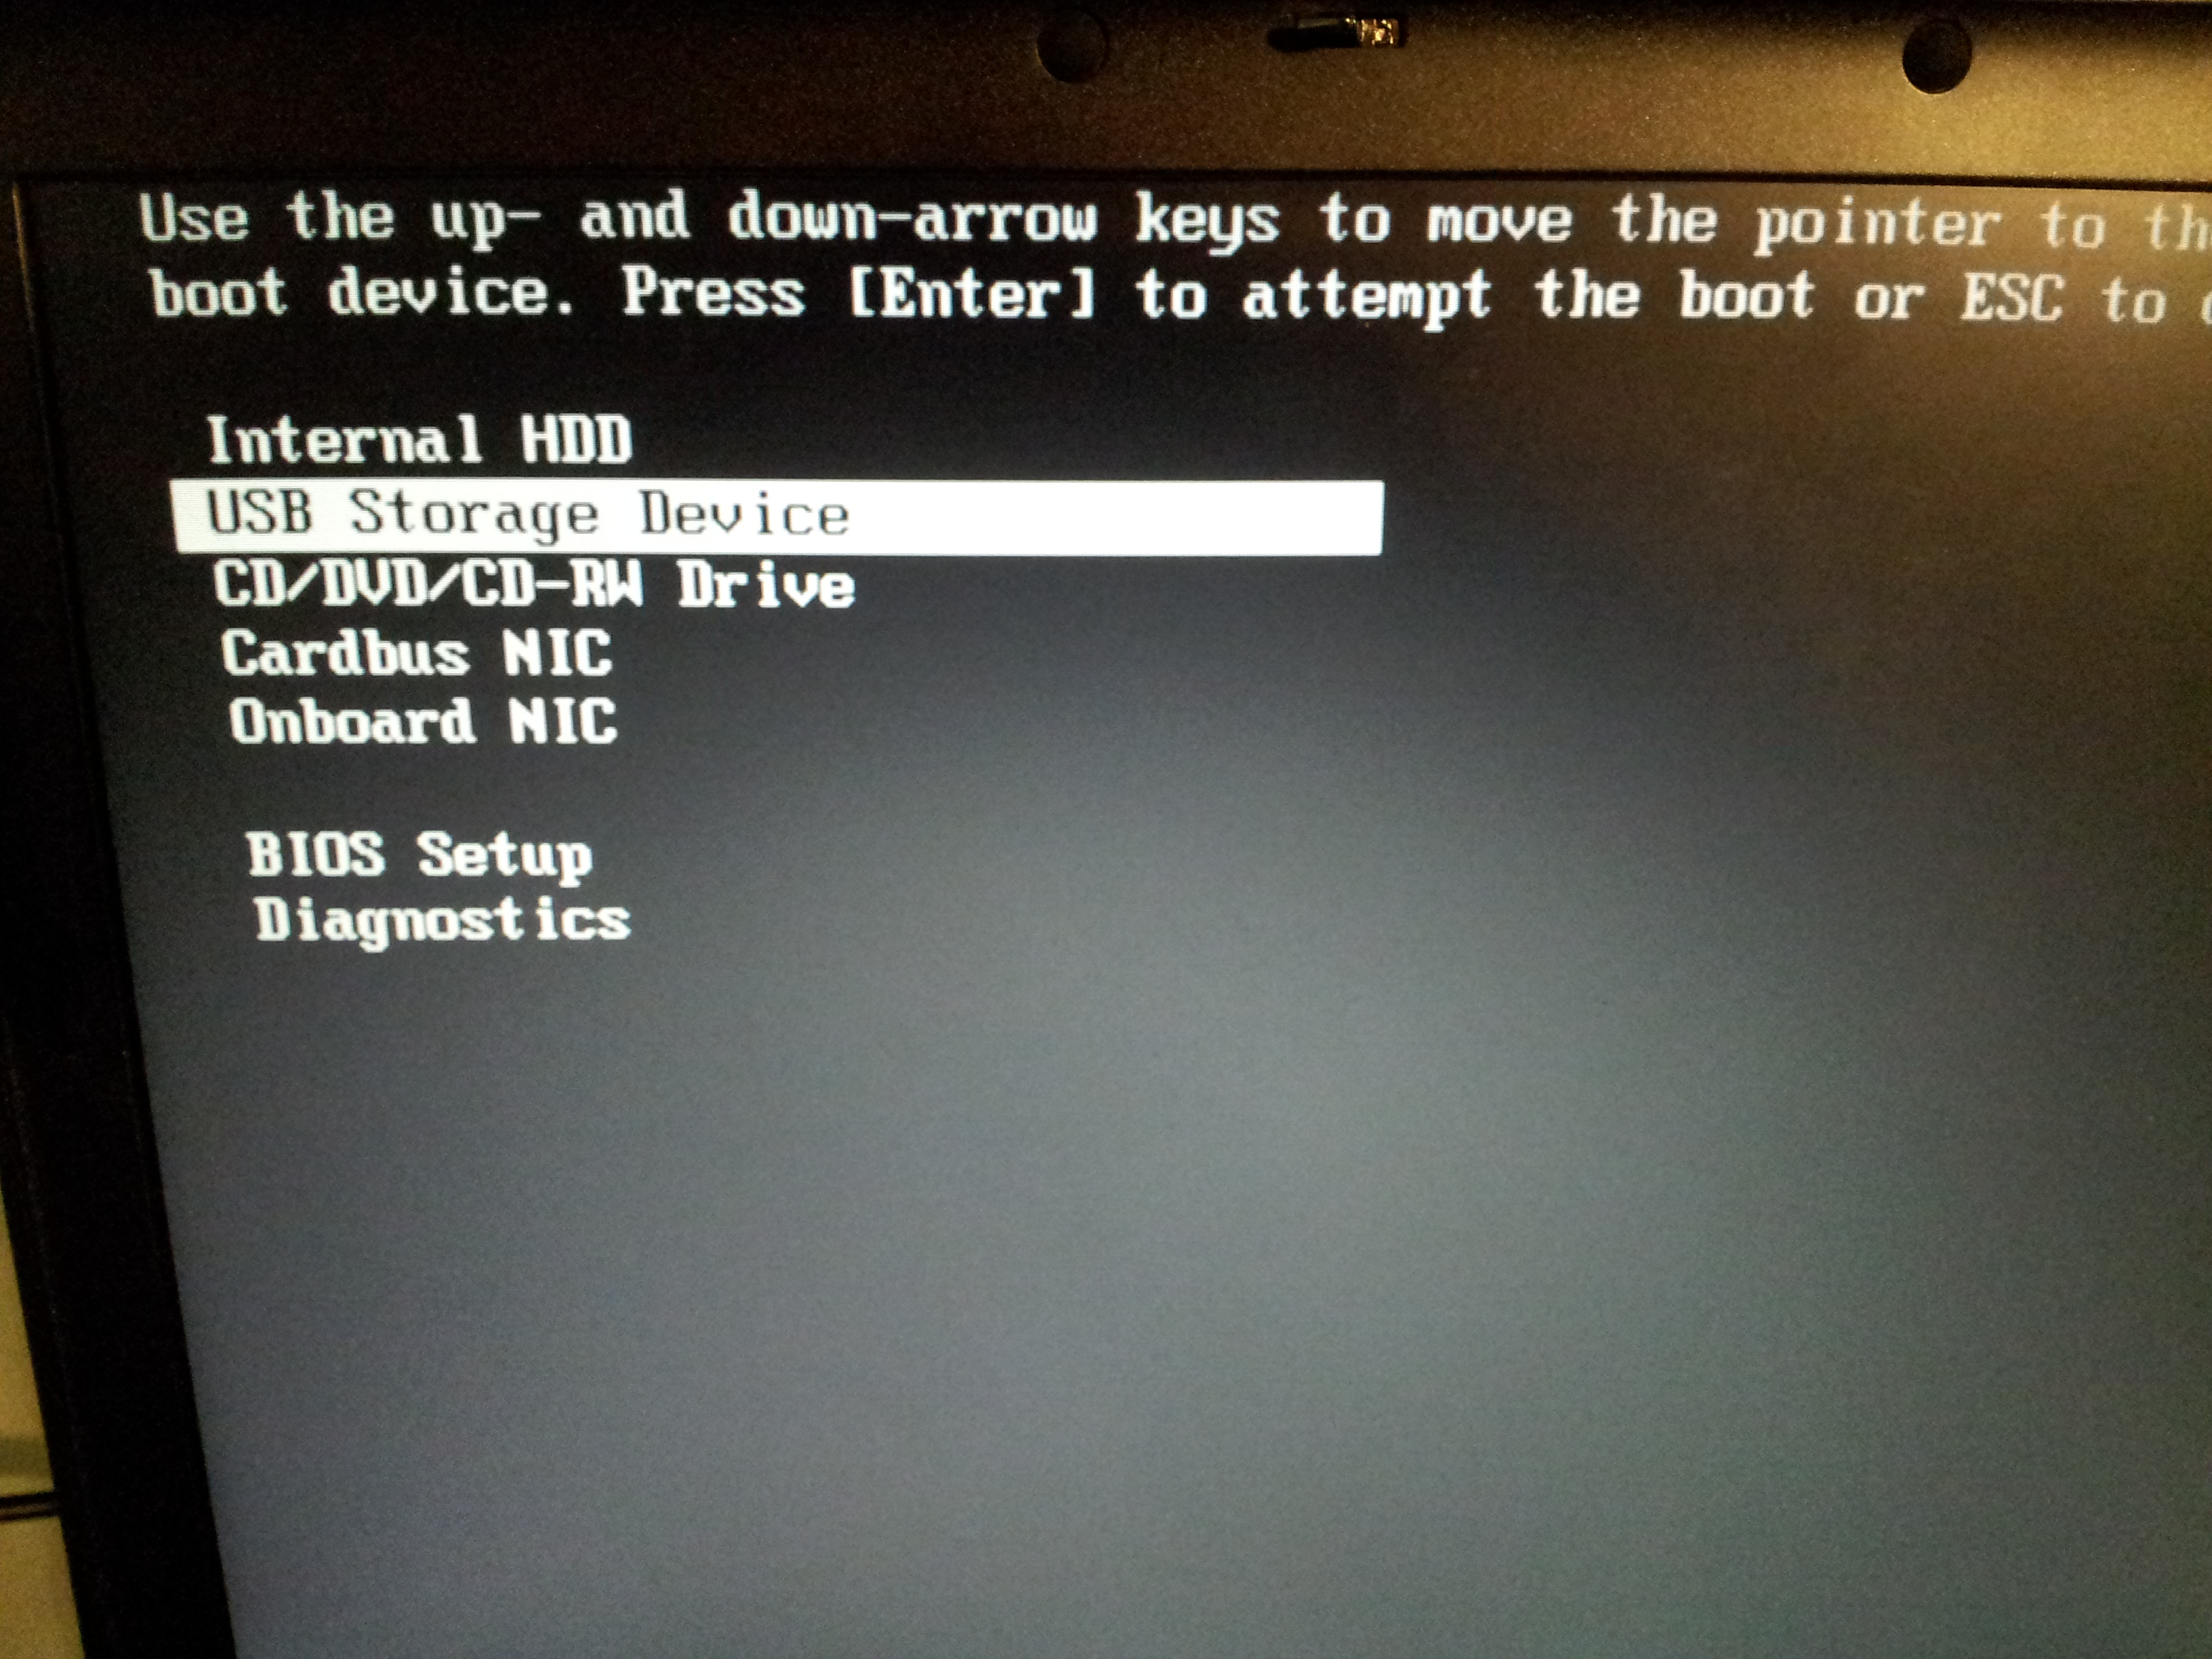
Once you are at the boot device menu, select the USB device you are using from the list. In my example, I am choosing “USB Storage Device” but on another computer, the same device shows up as “USB Lexar Flash Reader”. Then, just press enter to start on “Default”.

After it has finished booting up, if you are hard wired, you should be connected to the network and be able download Java and Minecraft and start playing. If you are using wireless like me, for some reason, nm-applet isn’t set to auto start. So, let’s turn that on.
Select Default applications for LXSession listed under Preferences from the menu. Select the Autostart tab and next to the +Add button, type ‘nm-applet’ without the quotes and click the add button. Go ahead and exit out of that screen. Because we don’t want to reboot to get the applet running, open an LXTerminal listed under Accessories and type ‘nm-applet &’. You should see a new icon appear on the bottom task bar. From there, you should be able to click on the computers icon and select a wireless network. Once you are connected to the internet, we can install Java from the LXTerminal using:
$ sudo apt-get update
$ sudo apt-get install default-jre
Press ‘Y’ or ‘Enter’ when it asks “Do you want to continue” and wait for it to finish installing.
So now, just run Firefox listed under Internet and browse to minecraft.net. Log in and download the Minecraft.jar file. By default, it will save the file in the Downloads folder of the lubuntu home folder. But, nobody wants to browse there to run it every time, so let’s create a desktop icon. To do this the easy way, right-click on the “Install Lubuntu 14.04” icon and copy it, then right-click on any place on the desktop and click paste. This will open a dialog box to name the file. Change the file name to something like “minecraft.desktop” and click the rename button. Now, right-click on the new icon and select properties. First, change the name to “Minecraft” and if you want to change the icon, click on the icon and select one from the list. If you want to get “fancy” you can download a Minecraft icon .png file from the internet and use it by selecting the “image files” radio button and browsing to the downloaded image. Next, select the “Desktop Entry” tab and change the Command: to “java -jar /home/lubuntu/Downloads/Minecraft.jar” (without the quotes), change the Tooltip (if you care) and click OK.
Double-click the Icon and the Minecraft launcher should start. From here, it’s the same for pretty much any computer. You may need to change the video settings to work with the hardware you are using. For example, on my primary machine, I can play using all the video settings turned on. But, when I boot up my wife’s ancient Dell laptop from work, I have to disable pretty much everything. But, it is still very much playable, even on old/week hardware.
Anyway, once you are done playing Minecraft, head over to the Lubuntu Software Center listed under System Tools and browse the many games available.